Your Footage Looks Dull Because You're Skipping This One Step

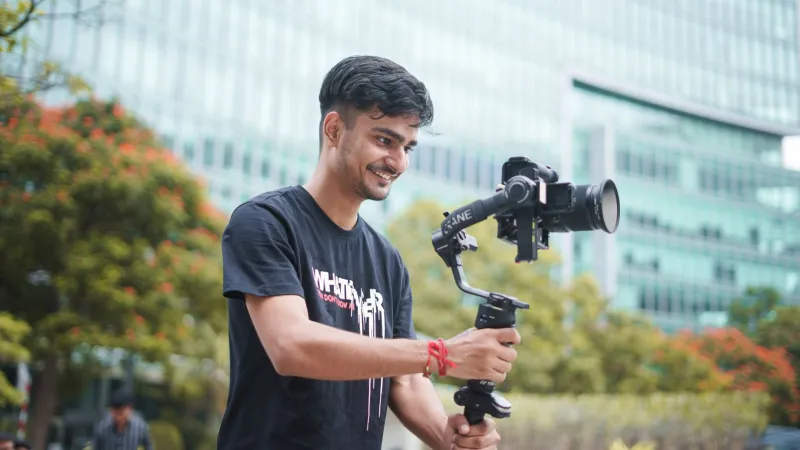
Photo by Photo by Mustafa Sheikhmouss on Unsplash on Unsplash
You just filmed the best content of your life. Golden hour light, solid composition, your subject nailed every take. You pull the clips into your editing software, slap on a VSCO-style preset, and... it still looks kind of flat. Kind of amateur. Not like the stuff you see from creators with the same camera.
Here's the uncomfortable truth: your camera isn't the problem. Your color workflow is.
The Preset Trap Most Creators Fall Into
There's nothing wrong with presets in theory. They're tools. But most beginner and intermediate creators use them as a substitute for understanding color — and that's where things go sideways.
When you drop a one-click LUT or filter over footage that hasn't been properly exposed, white balanced, or shot in a flat picture profile, you're essentially applying a tailored suit to a body that hasn't been measured. It might look okay-ish. But it won't look right.
Pros aren't using better presets. They're building better foundations before the preset ever touches the footage.
Why "Flat" Footage Isn't the Problem — It's the Point
If your camera has a Log or flat picture profile option (and most mirrorless and DSLR cameras sold today do), you should be using it. Shooting in a flat profile retains more dynamic range — more highlight detail, more shadow information — giving you way more flexibility in post.
The catch? Flat footage looks terrible straight out of camera. Washed out, low contrast, almost gray. New creators see that on their timeline and panic, slapping on a contrast-heavy preset that blows out highlights and crushes shadows. You've just undone the entire reason you shot flat in the first place.
The fix is learning to work with that footage intentionally — and that starts with understanding three basic moves:
1. Set your white balance in-camera (don't leave it on Auto) Auto white balance shifts between shots, making your grade inconsistent before you've even opened an editor. Locking it in — even to a close approximation — gives you a consistent starting point.
2. Expose to protect your highlights In Log or flat profiles, slightly underexposing is usually safer than blowing out the sky or your subject's face. You can lift shadows in post. You can't recover a blown highlight.
3. Grade before you filter Before you apply any LUT or preset, do a basic primary correction: adjust your exposure, set your black and white points, and neutralize your color balance. Then apply your look. This is the step most creators skip entirely.
DaVinci Resolve Is Free and It's Changing the Game
Here's something the algorithm doesn't tell you: DaVinci Resolve — the color grading software used on Hollywood films and major streaming productions — is available for free. Not a watered-down trial. The full, professional-grade version.
You don't need to master every node and panel. Spending two or three evenings learning the Color page basics in Resolve — the scopes, the color wheels, the curves tool — will do more for your content quality than buying a new camera body. Seriously.
The scopes alone are worth the learning curve. Waveforms and vectorscopes tell you objectively whether your footage is properly exposed and color balanced, instead of you just eyeballing it on a monitor that might not even be calibrated. Once you start reading scopes, you stop guessing.
The $50 Investment That Outperforms a $500 Upgrade
If you want a shortcut that actually works, a quality LUT pack is genuinely worth it. We're talking $30–$60 for a well-built set of cinematic LUTs designed to work with your specific camera's color science — not a generic Instagram filter.
The difference is specificity. A LUT built for Sony S-Log3 footage behaves completely differently than one built for Canon Log or Fujifilm F-Log. When the LUT matches your camera's profile, it transforms your footage the way it was designed to — not in spite of your camera, but because of it.
Combine a camera-matched LUT with a proper primary grade underneath it, and suddenly your content looks like it cost ten times more to produce.
A Quick Diagnostic: Why Does Your Footage Actually Look Flat?
Before you spend anything, run through this checklist:
- Are you shooting in a flat/Log profile but not correcting it in post? That's your problem.
- Is your white balance set to Auto? Lock it down.
- Are you applying LUTs to uncorrected footage? Do your primary grade first.
- Are you watching your footage on an uncalibrated laptop screen? Your monitor is lying to you.
- Did you download a generic preset not made for your camera? That's why it looks off.
Most creators find their answer in the first two bullets. The fix costs nothing but time.
The Real Competitive Edge Isn't Gear — It's Process
Content creators who consistently produce polished-looking video aren't necessarily shooting on better cameras. A lot of them are shooting on the same bodies you'll find right here on ShopCamV. What separates them is workflow discipline: they shoot intentionally, they grade methodically, and they understand that color isn't decoration — it's communication.
Your footage doesn't look flat because your camera is cheap. It looks flat because the post-production step most people treat as optional is actually the whole job.
Learn the fundamentals. Invest in the right LUTs. Open DaVinci Resolve and spend a weekend with the scopes. The camera you already own is more capable than you think — you just haven't unlocked it yet.