Your Color Grading Isn't the Problem — Your Monitor Is

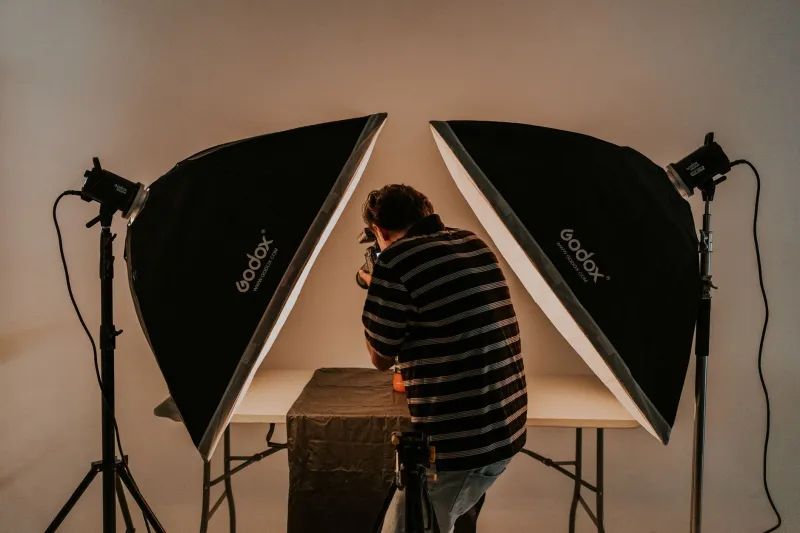
Photo by Photo by Jakob Owens on Unsplash on Unsplash
Let's be honest about something: color grading is one of those skills where creators can spend months — sometimes years — convinced they just haven't figured it out yet. The skin tones look off. The shadows feel muddy. The whole thing looks fine on your editing machine but weird on your phone and flat-out wrong on your TV.
So you watch more tutorials. You buy more LUTs. You mess with the wheels for another three hours.
And nothing really fixes it.
Here's the uncomfortable truth that nobody in the color grading tutorial space wants to lead with: if you're editing on an uncalibrated, consumer-grade laptop screen or a budget gaming monitor, you are literally working blind. The colors you're seeing are not the colors that are actually in your footage. You're chasing a grade that doesn't exist on your display — and no amount of skill is going to fix that.
Why Your Monitor Might Be Lying to You
Consumer monitors — including a lot of the ones that get marketed toward creatives — are built to look good in a showroom. That means they're often oversaturated, overly bright, and tuned to make blues pop and skin tones look warm and flattering. That's great for watching Netflix. It's a disaster for color grading.
When you're grading on a screen like that, you're compensating for inaccuracies you can't even see. You might pull the saturation down because the colors look too punchy — not realizing that your monitor is adding saturation that isn't there. You might cool down your highlights because they look too yellow on your display, then export and realize everything looks blue-gray on a calibrated screen.
The grade you think you're building isn't the grade you're actually building.
This is why two creators can follow the exact same tutorial, use the exact same LUT, and end up with completely different results. Their monitors are telling them different stories about the same footage.
What "Color Accurate" Actually Means
A color-accurate monitor is one that displays colors as close to a defined standard as possible — usually sRGB for web and social content, or DCI-P3 for more cinematic work. The key specs to look for are:
- Delta E (dE): This measures how far off a monitor's colors are from the standard. A dE below 2 is considered accurate enough that most people can't perceive the difference. Consumer monitors often ship with dE scores of 4–6 or higher.
- Color gamut coverage: Look for 99% sRGB coverage at minimum. For video work, 95%+ DCI-P3 coverage is even better.
- Factory calibration: Some monitors ship pre-calibrated from the factory with a report to prove it. That matters.
This isn't about buying the most expensive monitor on the market. It's about buying one that doesn't actively work against you.
The $200 Range: Where It Gets Interesting
Here's the part that surprises most creators: you don't have to spend $1,000 to get a genuinely color-accurate display. The sub-$300 monitor space has gotten legitimately good in the last couple of years, and a few options stand out for creators who want accuracy without draining their gear budget.
The ASUS ProArt PA248QV sits right around $200 and covers 100% sRGB with a factory-calibrated Delta E under 2. It's a 24-inch IPS panel that's not flashy but is consistently accurate — which is exactly what you want in a grading monitor.
The BenQ SW240 is another strong option in this range, designed specifically with photographers and video editors in mind. It includes a hardware calibration report and covers 99% of the Adobe RGB color space, which gives you a lot of room to work in.
For creators who want to push into P3 territory without breaking the bank, the ViewSonic VP2468a is worth a look. It's a workhorse monitor with solid factory calibration and enough color space coverage to handle most social and YouTube-bound content accurately.
None of these are the monitors you'd find in a high-end broadcast facility. But all of them are dramatically more accurate than the gaming monitor or MacBook display that a huge percentage of creators are currently editing on.
What Actually Changes When You Switch
The shift is more immediate than most people expect. The first time you open a project on a calibrated display, you'll likely notice that your old grades look slightly off — sometimes a little too warm, sometimes oversaturated, sometimes with crushed blacks you didn't realize were there.
That's not a bad thing. That's the monitor showing you what's actually in your footage.
From there, your grading decisions start to stick. When you pull the shadows up, they stay up. When you neutralize a color cast, it stays neutral. Your exports start matching what you see on screen, which means less guessing, less re-exporting, and less time wondering why your video looks different on every device.
Creators who make this switch consistently report the same thing: they didn't suddenly get better at color grading. They just stopped fighting their tools.
A Note on Calibration Software
Even a factory-calibrated monitor will drift over time. If you're serious about color accuracy, pairing your display with a hardware calibration tool like the X-Rite i1Display (around $150) lets you recalibrate every few months and maintain accuracy over the life of the monitor. It's not a day-one purchase, but it's worth knowing it exists.
The Gear Hierarchy Most Creators Get Wrong
There's a tendency in the creator space to spend heavily on cameras, lenses, and lighting — all of which are visible on screen — and then edit everything on whatever monitor happened to come with the setup. The logic makes sense until you realize that every creative decision you make in post is filtered through that display.
A $2,000 camera doesn't help you if the colors you're grading in post don't survive the export. A color-accurate monitor is the lens through which your entire editing workflow runs. It's not a peripheral. It's infrastructure.
If you've been blaming your skills, your LUTs, or your footage for a color grade that never quite lands — take a hard look at what you're editing on. The fix might be simpler, and cheaper, than you think.